| ||||
| Home / Help / Fetch Tutorial, part 4 | ||||
|
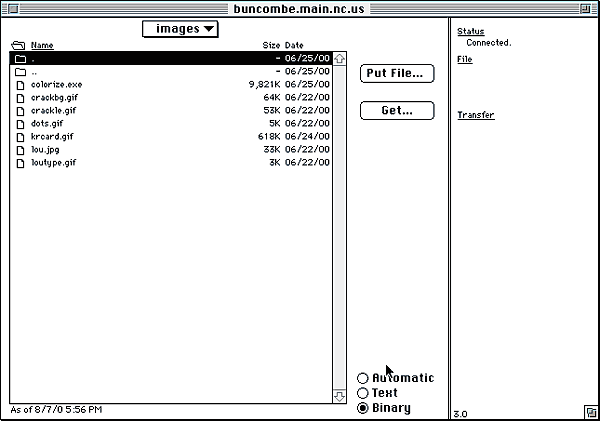
Typically, graphics files are segregated into a separate folder called images within the public_html directory. If you would like to create an images folder, open the Directories menu at the top of the screen and select Create New Directory... In the dialog box, type images and click OK. Now, double-click the new images folder to open it. Before you upload any graphics files, at the bottom of the screen, please change your radio button selection from Text to Binary.
Unfortunately, the "Automatic" option in Fetch 3.0 doesn't work consistently; so it's better to select the appropriate option manually (Text for html files and Binary for graphics files). Now you may upload your graphics just as you did your html files. Because you chose "Binary" earlier, you will see Raw Data as the selected choice from the pull-down menu.Click OK.
| ||||
|


